Hey lovelies,
So yesterday was my lovely mamas birthday and next week is my twin sisters birthday too, so as a little joint/early for my sisters treat I thought I'd make a giant cupcake birthday cake. I've seen them in lots of bakeries yet have never actually tried one but I found a mould in a catering shop so I thought I'd give it a try with my boyfriend. Finding recipes for a cupcake that big turned out to be quite difficult as each one seemed to say different amounts and the mould didn't have any instructions on it, so we ended up making it up a bit as we went along and working it out as best we could for ourselves, but luckily it worked and was deeeelish!
Unfortunately I haven't got pictures of every stage because some we got a bit ahead of ourselves and just carried on, but there are a few for you to check your progress :)
What you will need to make the cake we made:
A Giant Cupcake Mould
250 grams of Self Raising Flour
250 grams of Unsalted Butter
250 grams of Caster Sugar
5 Eggs
4 tablespoons of Milk
1 teaspoon of Vanilla Extract
Buttercream fondant icing
Pink (any colour of your choice) food colouring.
Cake decorations
Piping bag
Preheat oven to 200'c
Step 1: Cream the butter and caster sugar together until a smooth paste is formed
Step 2: Add one egg at a time with a little bit of flour and beat
Step 3: Add 1 tspn of Vanilla Extract and fold in the rest of the flour
Step 4: Add milk and continue to fold until the mixture is more smooth and liquid-y and easy to pour into moulds.
Step 5: Equally distribute the mixture into the top and bottom parts of the mould and place the bottom mould into the preheated oven first for 10 minutes, as this is slightly thicker and needs more time.
Step 6: After 10 minutes, place the top mould into the oven for 35 minutes.
Step 7: Icing - If you're cheating a little with the icing, like us, then pour the buttercream icing into a mixing bowl and add a few drops of food colouring, adding more when required in order to get the colour you desire.
Step 8: When the cake is ready, leave to cool before taking out of the moulds.
Step 9: Using a serrated knife, slice the bottom mould where it has risen, to make a flat surface for the top mould to sit on. Do this for the top mould as well, so that the top sits comfortably on the bottom.
Step 10: If you wish, you can add some of the buttercream icing to 'glue' the parts together like we did.
Step 11: Using a spatula, evenly coat the base of the cupcake in the buttercream icing so that all of it is covered.
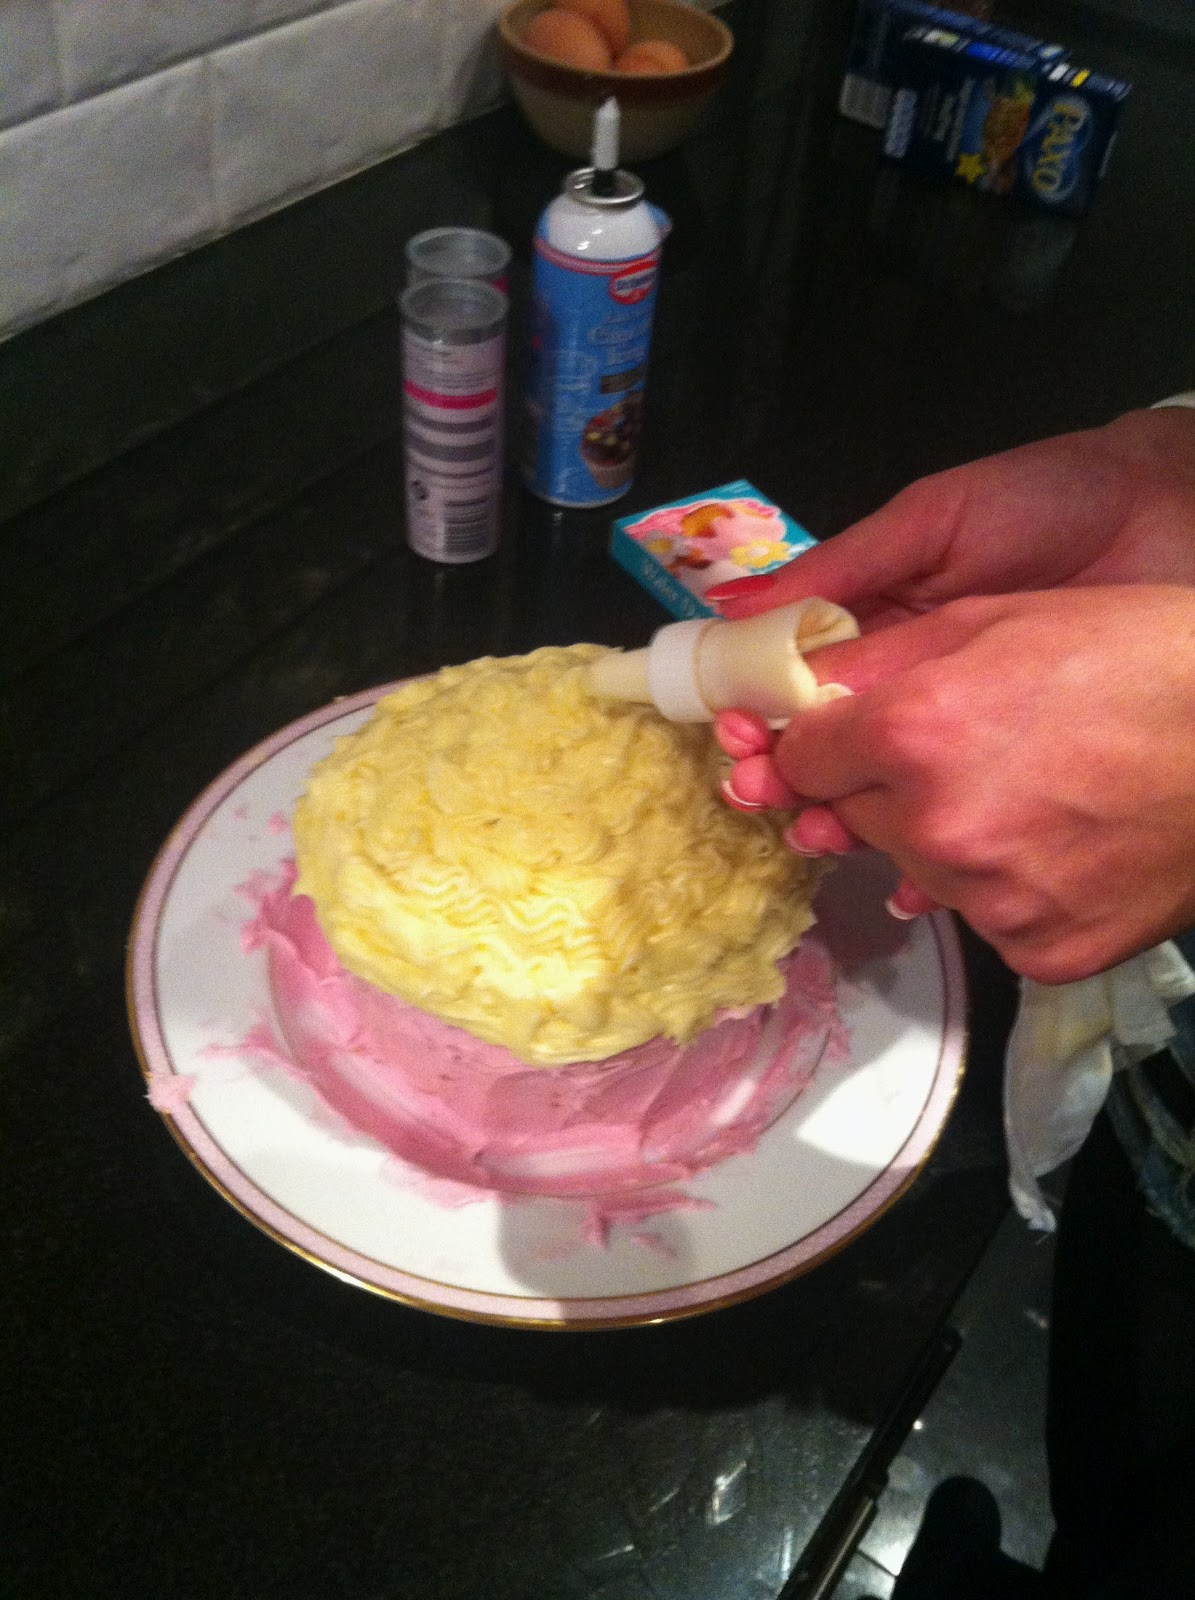
Step 12: For the top, using icing in a different colour (or the same if you prefer), pour the icing into a piping bag and ice the top layer in whatever pattern you wish.
Step 13: Decorate the cake using flowers, hearts, sprinkles or whatever takes your fancy and carefully take off the messy icing plate to make it look neater(or just wipe the edges). Now share with the world and enjoy :)

Such a simple recipe for something that looks really complicated. I'd say the whole thing takes about two hours though with the decorating being so precise so quite a lot of time and effort is required. :) Happy Baking.
Have you ever made this before? Do you think you'll be attempting this yourself at home?
x